LaTeX Typesetting Online with Chart Studio and Excel
LaTeX Typesetting with Chart Studio
Upload your Excel data to Chart Studio's grid
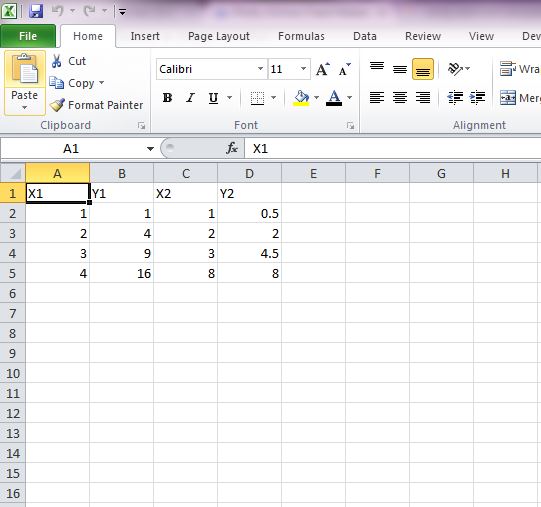
Open the data file for this tutorial in Excel. You can download the file here in CSV format
Head to Chart Studio
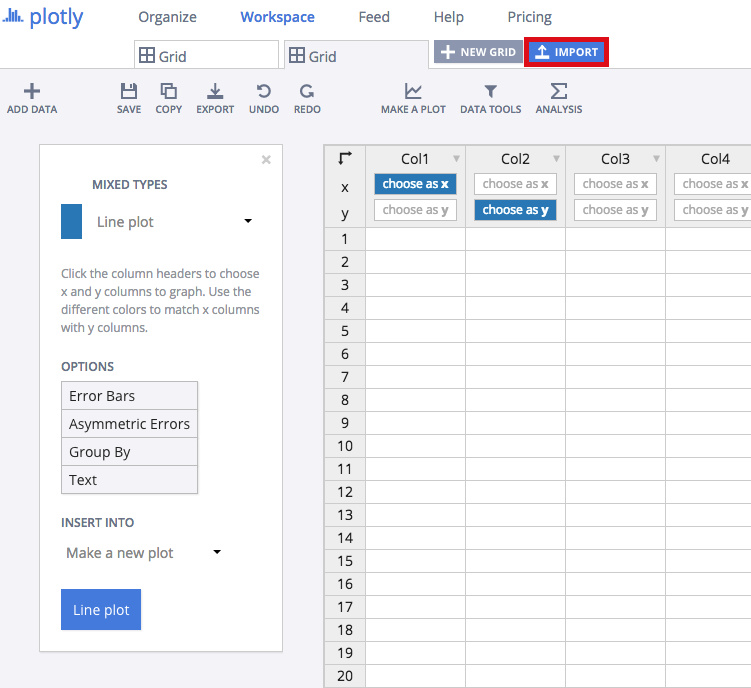
Head to the Chart Studio Workspace and sign into your free Chart Studio account. Go to 'Import', click 'Upload a file', then choose your Excel file to upload. Your Excel file will now open in Chart Studio's grid. For more about Chart Studio's grid, see this tutorial
Creating the Chart
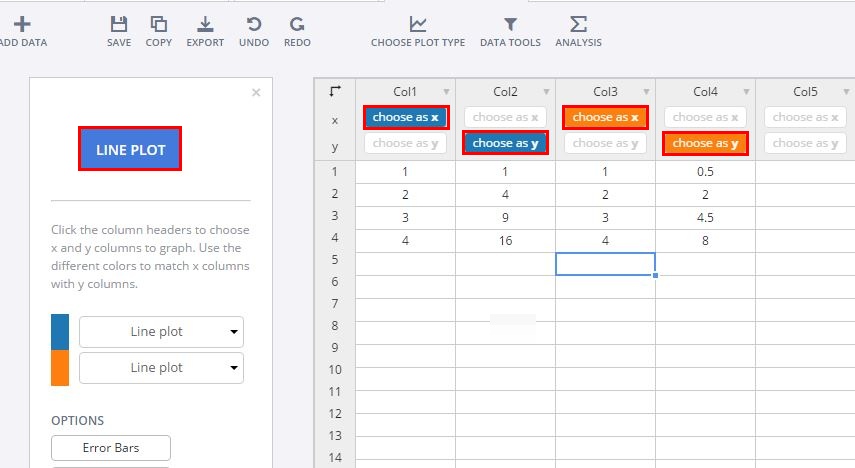
After importing the data, select the 'Line Plot' option from 'Choose Plot Type' dropdown. Set the data shape as shown in figure below, and click on 'Line Chart' button to create the chart.
Adding LaTeX Axis Title
To add the Axis Title, click on the title box, and paste this LaTeX Code: $\sqrt{(n_\text{c}(t|{T_\text{early}}))}$ in the text box.
Adding LaTeX Annotations
To Add the Annotations, Go to 'Notes' popover. Click on the '+' button to create a new annotation box in the chart. We can also modify the properties of the annotations box (like position, font etc.) from the 'Text' tab.
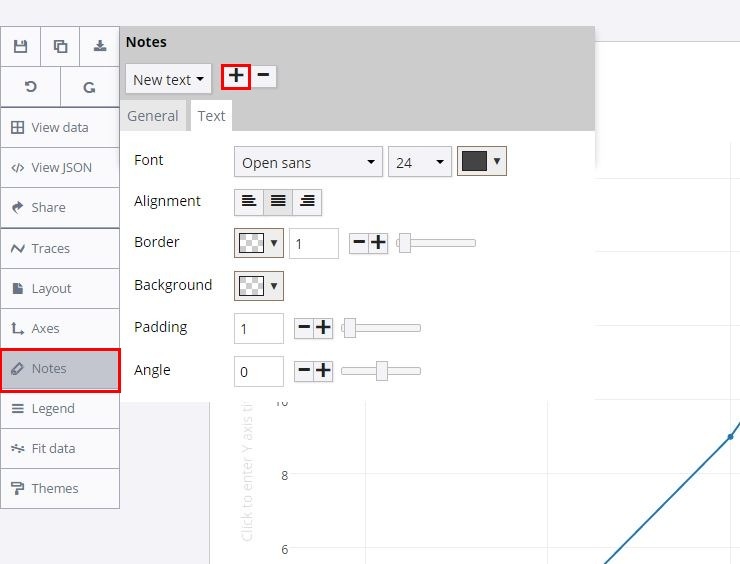
Copy this code: $\beta_{1c} = 25 \pm 11 \text{ km s}^{-1}$ to the annotation text box, and hit enter to render the LaTeX text in the annotations, as shown in figure below.